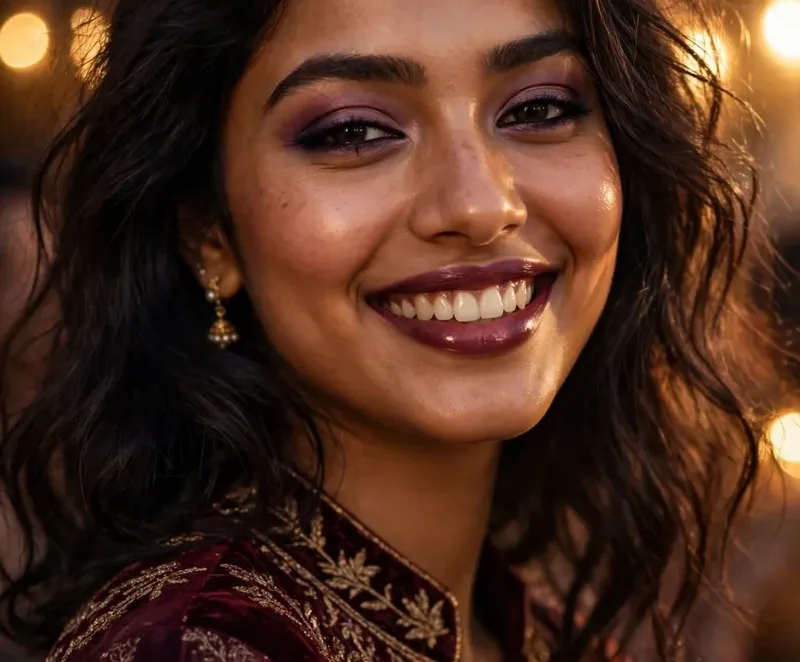
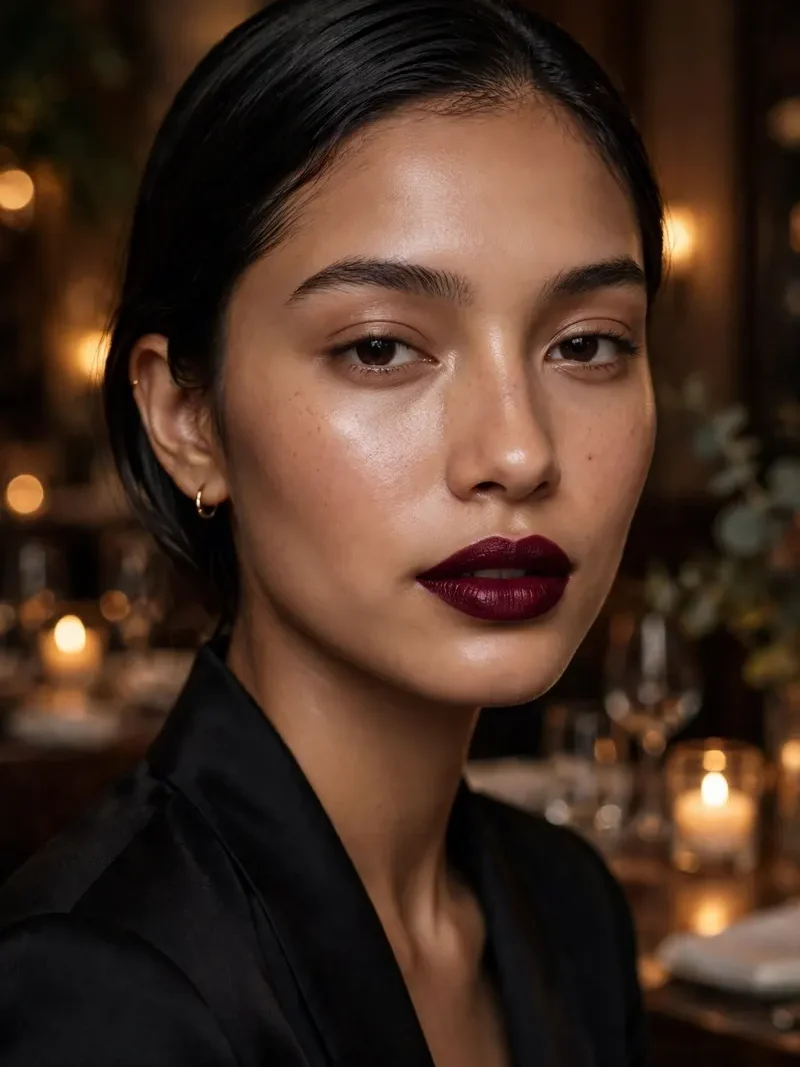
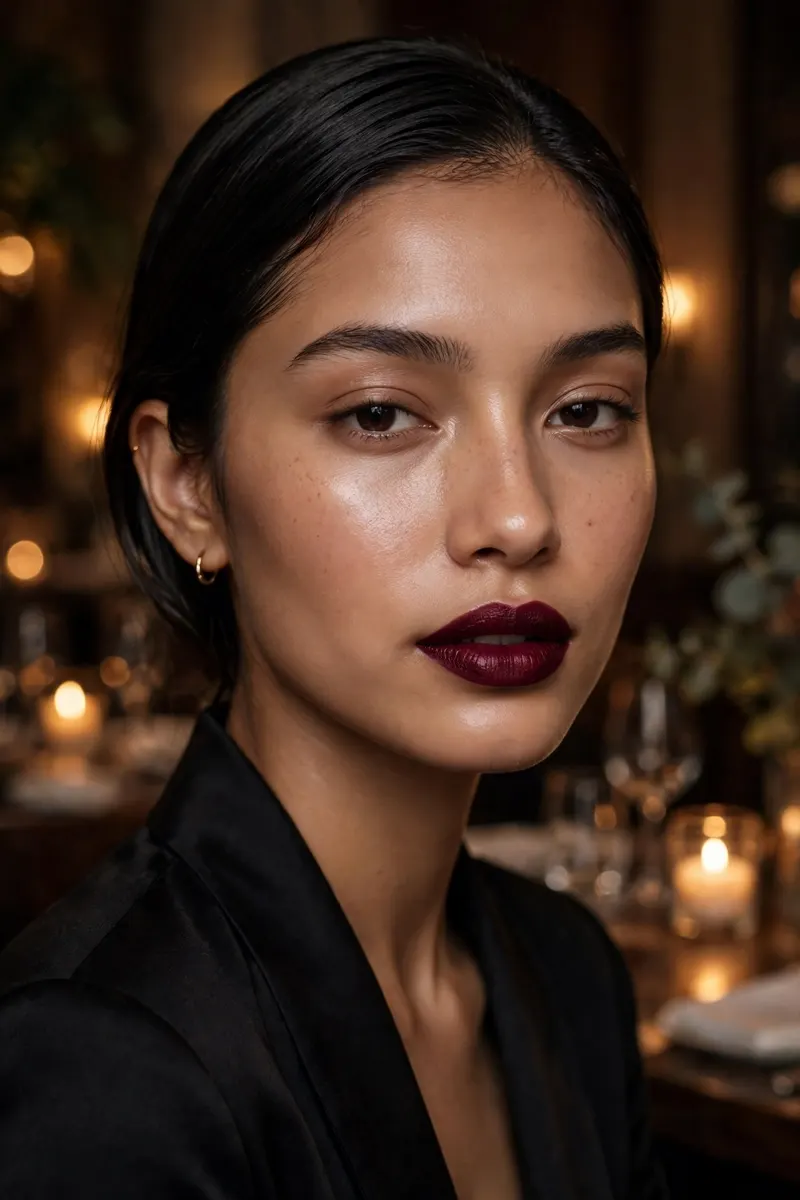
Most evening makeup tutorials save the lipstick for last, as a finishing touch. This one starts with it — because when the lip is the loudest thing on your face, it should make the decisions. Do the berry lip first, look in the mirror, and let it tell you how much eye and cheek you actually need. The honest answer is usually: far less than you’d have applied. Below is the lip-first method in full, the three berry shade families (and which one your skin tone is asking for), and the quiet supporting face that makes a deep lip look expensive instead of overdone.
Quick glance
- The look: one deep berry lip, soft taupe eyes, muted neutral cheeks, clean evening skin
- Time: 20–30 minutes (the lip does the heavy lifting)
- Skill level: beginner-friendly — one statement feature, everything else on low volume
- Budget band: full look $20–$40 with the budget picks below; $0 if you already own a berry lipstick
- Lasts: 5–7 hours with the liner-first stain in Step 3
- Best for: dinners, evening events, sangeet nights, anywhere after dark
Before you start: the 6 products that matter
You do not need a new makeup bag. You need these six, in any brand:
- Berry lipstick or lip stain — the whole look lives here. Shade families are broken down in Step 2. $5–$12
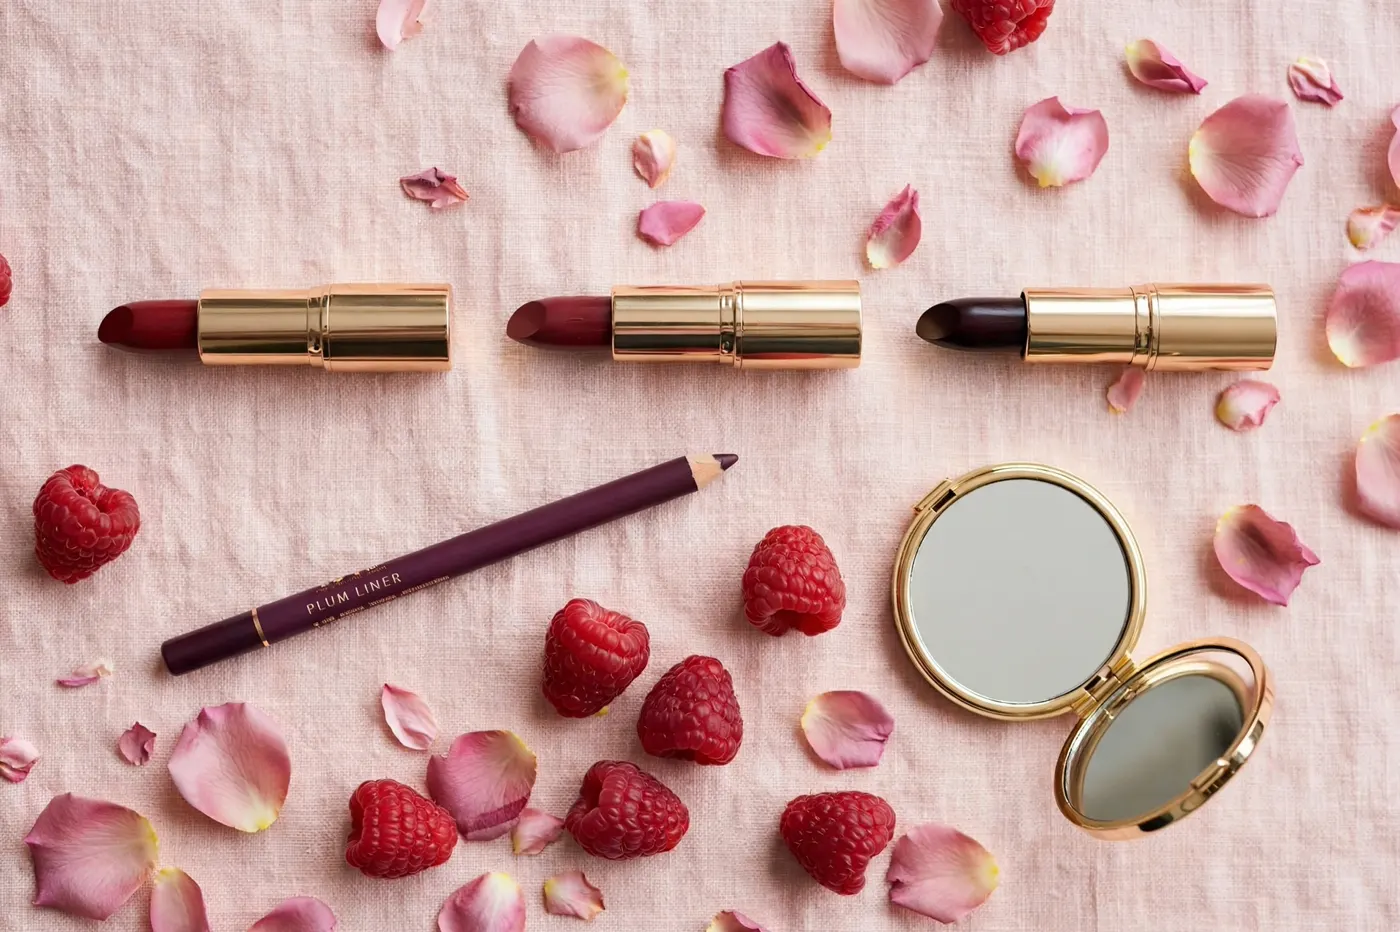
- Lip liner in a matching berry or deep plum — this is the stain base that outlasts the evening. $3–$6
- Your regular foundation + concealer — applied around the finished lip, not before it.
- One matte taupe or mushroom eyeshadow — the quiet eye. A soft brown-grey you already own works. $4–$10
- Black kohl pencil + mascara — kohl for tightlining only; there is no wing in this look.
- Neutral rose-brown blush + setting spray — cheeks stay in the background on purpose. $5–$10
Budget tip: the spending logic flips for this look — spend on the lipstick, save everywhere else. The supporting products are deliberately boring, and boring is cheap.
The tutorial
This is the Lip-First Method: lip first, balance second, base last.
Step 1 — Prep the lips like they’re the main event (they are)
Berry pigment settles into every flake and dry line, so: gentle scrub (a pinch of sugar in honey, or a warm damp flannel), lip balm, wait two minutes, blot the balm off completely. Lipstick over balm slides; lipstick over blotted, conditioned lips grips.
Budget tip: no lip scrub in the house? The sugar-and-honey version above takes twenty seconds and works exactly as well.
Step 2 — Choose your berry: the three families
Every berry lipstick belongs to one of three families. Picking the right family matters more than picking the “right” brand:
- Blue berries — wine, black-cherry, burgundy. The brightest choice on golden and deeper skin: the blue base makes skin look clearer and teeth look whiter. If you want one safe, dramatic berry, start here.
- True berries — raspberry, cranberry. The middle path, and the most “evening pretty.” On warm South Asian skin, choose the deeper end of this family — the bright, pink-leaning versions can turn fuchsia within an hour of wear.
- Brown berries — mulled wine, plum-brown. The softest drama, and the easiest entry if deep lips are new to you. On deeper skin, go richer and more saturated, or this family reads muddy instead of moody.
Shade rule for South Asian skin tones: when a berry looks dusty, greyish or “off” in the tube, it will look worse on warm undertones. Go one shade deeper and one step bluer than your first instinct — you can always blot it down to a stain.
Step 3 — Apply the lip first (the Berry Lip Rule)
Line slightly inside, fill fully, then lipstick — the same rule as our dark romantic look, but here it happens before everything else:
- Line just inside your natural lip line with the berry liner.
- Fill the whole lip with liner. This is the stain that survives dinner.
- Lipstick over the top, blot once, second thin layer.
Do the lip before foundation on purpose: any wobbly edge gets cleaned up and sharpened with concealer in Step 6, which is far easier than correcting a finished base.
Step 4 — Read the mirror: the 30% rule
Now, with the lip at full strength, judge the rest of the face against it. The rule: eyes and cheeks together get about 30% of the volume the lip has. If you normally wear a full smoky eye, this look gets a third of it. This single decision is what separates “berry lips evening makeup” from “everything makeup.”
Step 5 — Quiet eyes
One wash of matte taupe across the lid, blended softly into the crease. Tightline the upper waterline with kohl so the lashes look thick, but draw no wing and no lower liner — a wing competes with the lip for the same “statement” job. Two coats of mascara, and stop. A fingertip of champagne shimmer on the inner corner is allowed; glitter is not.
The mistake to avoid: adding “just a little” smoky shadow, then a little more. Taupe wash plus tightline looks bare in the mirror for the first minute — then the lip walks in and the balance is perfect. Trust the lip.
Step 6 — Base around the lip
Foundation where you need evening-out, blended carefully up to the lip edge, never over it. Concealer under the eyes, then a small flat brush with a trace of concealer walked around the outside of the lip line — this is the sharpening step that makes a drugstore berry look professionally applied. Powder the T-zone only; evening skin should keep some life.
Step 7 — Cheeks on mute
Neutral rose-brown blush, placed on the apples and blended upward — at half your usual amount. Skip warm bronzer entirely: orange-brown warmth fights a cool berry lip and both lose. Highlighter, if any, is a whisper on the tops of the cheekbones only. The cheeks’ job in this look is to keep you looking alive in photos, nothing more.
Step 8 — Set, and plan the one touch-up
Setting spray over everything. Then accept the honest truth of a statement lip: you will touch it up once, after eating. The liner stain underneath (Step 3) means it fades evenly to a berry tint instead of a ring, so the touch-up is thirty seconds with the lipstick alone — no liner, no mirror surgery.
Budget tip: decant the plan, not the products — the lipstick itself is the only thing that needs to come with you. Leave the rest of the bag at home.
5 mistakes that ruin this look (and the 10-second fixes)
- Building the whole face first, lip last → everything competes at full volume. Fix: lip first, always (Step 3), then judge.
- Smoky eyes AND berry lips at full strength → the features argue. Fix: the 30% rule — taupe wash and tightline only.
- Blush in the same berry family, full amount → colour overload, clown-adjacent. Fix: neutral rose-brown at half strength.
- Warm bronzer under a cool berry lip → the two colour temperatures clash. Fix: skip bronzer; shape with the blush placement instead.
- Lipstick with no liner stain beneath → gone by the starter, leaving a ring. Fix: fill the whole lip with liner first.
Budget picks for this look
| Product role | What to look for | Price band | Link |
|---|---|---|---|
| Berry lipstick | Blue-based wine or black-cherry, satin finish | $5–$12 | Shop |
| Lip liner | Matching berry or deep plum | $3–$6 | Shop |
| Lip stain (long-wear option) | Berry stain for blot-down days | $6–$11 | Shop |
| Matte taupe shadow | Single pan, brown-grey, no shimmer | $4–$10 | Shop |
| Neutral blush | Rose-brown, satin, low saturation | $5–$10 | Shop |
| Setting spray | Natural or dewy finish | $6–$11 | Shop |
Full-look total with these picks: roughly $20–$49 depending on what you already own. One good berry, applied first and given a quiet face to lead, outperforms a whole bag of supporting products.
FAQs
Which berry family suits South Asian skin tones best?
Blue berries (wine, black-cherry, burgundy) are the most reliable — they brighten golden and deeper skin and make teeth look whiter. True berries work if you choose the deeper end, and brown berries are the gentle option as long as they stay rich enough not to turn muddy.
Why does my berry lipstick turn pink on me?
Warm undertones and your natural lip pigment pull berry shades toward fuchsia as they wear. Anchor the colour: fill the whole lip with a plum liner first (Step 3), and choose shades one step deeper and bluer than the tube suggests.
Do berry lips make teeth look yellow?
The opposite — blue-based berries are the lipstick equivalent of a whitening filter. It’s the orange-brown and coral families that can make teeth look warm. One more reason this look lives in the blue-berry family.
Can I wear berry lips in the daytime?
Yes — blot the finished lip hard with tissue, twice, until it’s a stain. Same lip-first balance, a third of the intensity. The stain version with the taupe eye is a completely respectable workday face.
How do I keep berry lipstick off my teeth?
After the final layer, close your lips around a clean finger and pull it out slowly — it removes the inner ring of lipstick that transfers. Blotting well (Step 3) prevents most of it before it starts.
What if I want berry lips AND strong eyes for a big event?
Then you’re describing the dark romantic look, and it’s a genuine choice — just make it deliberately, not by accident. Smoke the eyes fully, and drop the lip to a blotted berry stain so the two features take turns instead of shouting over each other.
Keep going
- Want the full dramatic version, smoked eyes and all? Dark Romantic Makeup Tutorial builds the complete vamp face.
- New to bold evening looks? Start gentler with our Vampy Makeup Look for Beginners.
- Taking the statement lip to a wedding event: Sangeet Makeup Looks pairs it with festive eyes.
- The full collection lives in Dark Looks.
Some links in our Budget Picks may earn us a commission at no extra cost to you. Picks are ordered by what works, never by who pays.