
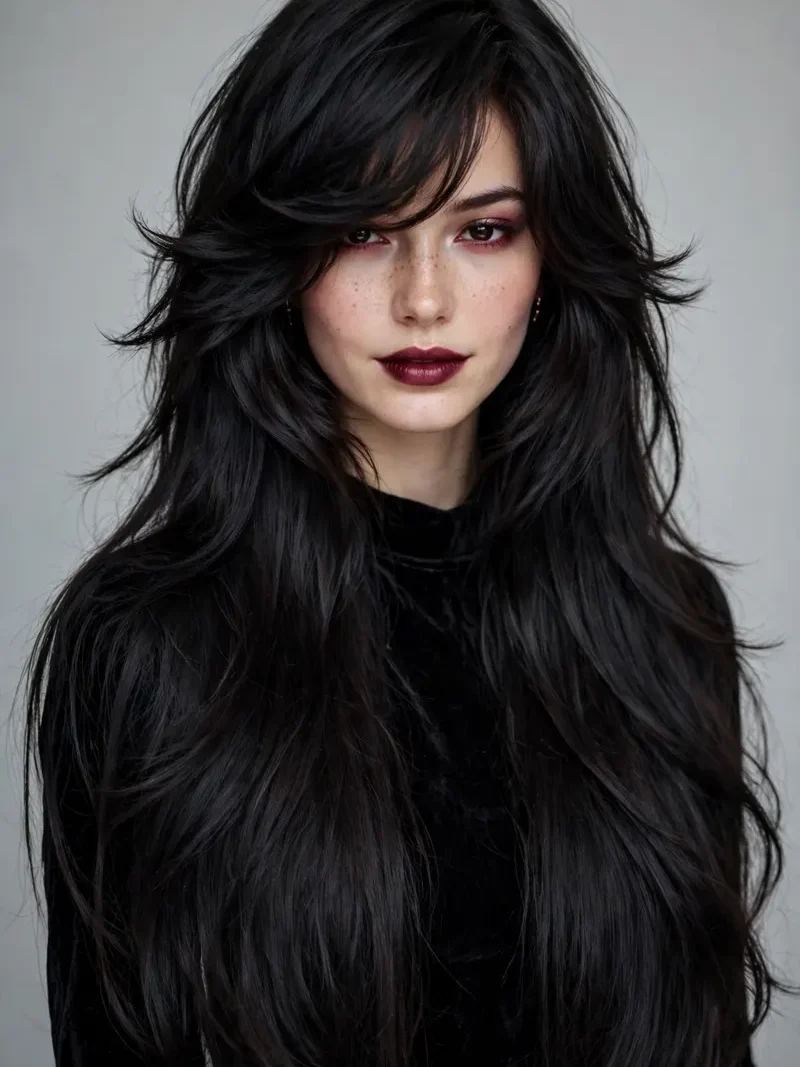
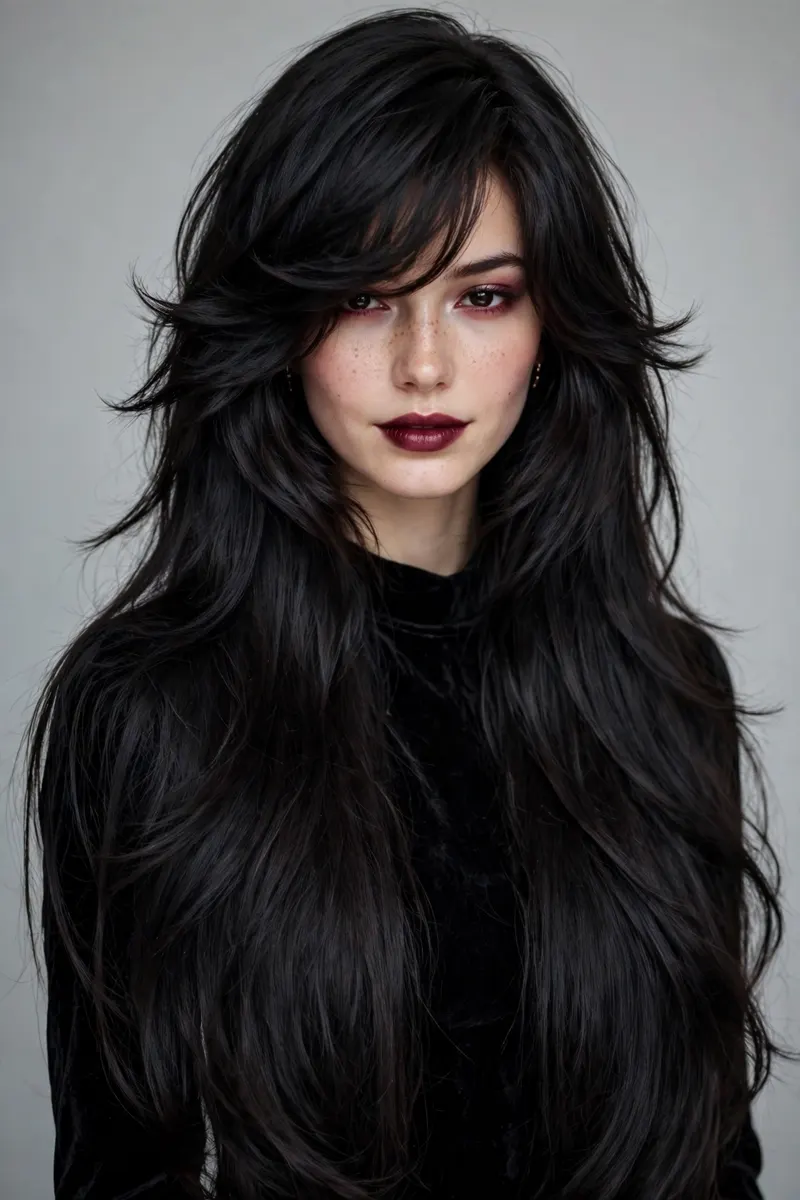
The vampire haircut is having a serious moment — searches for vampire beauty are up 90% in Pinterest Predicts 2026 — but most people walk into the salon with a screenshot, walk out with ordinary layers, and never find out why. The difference is not the photo. It’s the wording. This guide gives you the exact sentences to say to your stylist, an honest face-shape check before you book, and the ten-minute styling routine that creates the swooping, face-framing fall the cut is famous for.
Quick glance
- The look: long, heavy layers with a deep face-framing swoop — part curtain fringe, part cascading front sections
- Time: 45–60 minutes in the chair; 10 minutes of styling a day
- Skill level: the cut is a stylist’s job — your job is the wording in Step 1 and the routine in Step 3
- Budget band: the cut itself varies by salon; the styling kit below runs $20–$38 total
- Lasts: 8–10 weeks before the front sections need a tidy-up
- Best for: medium to long hair, evening looks, anyone who loves the dark romantic family of styles
Before you book: the 5 styling products that matter
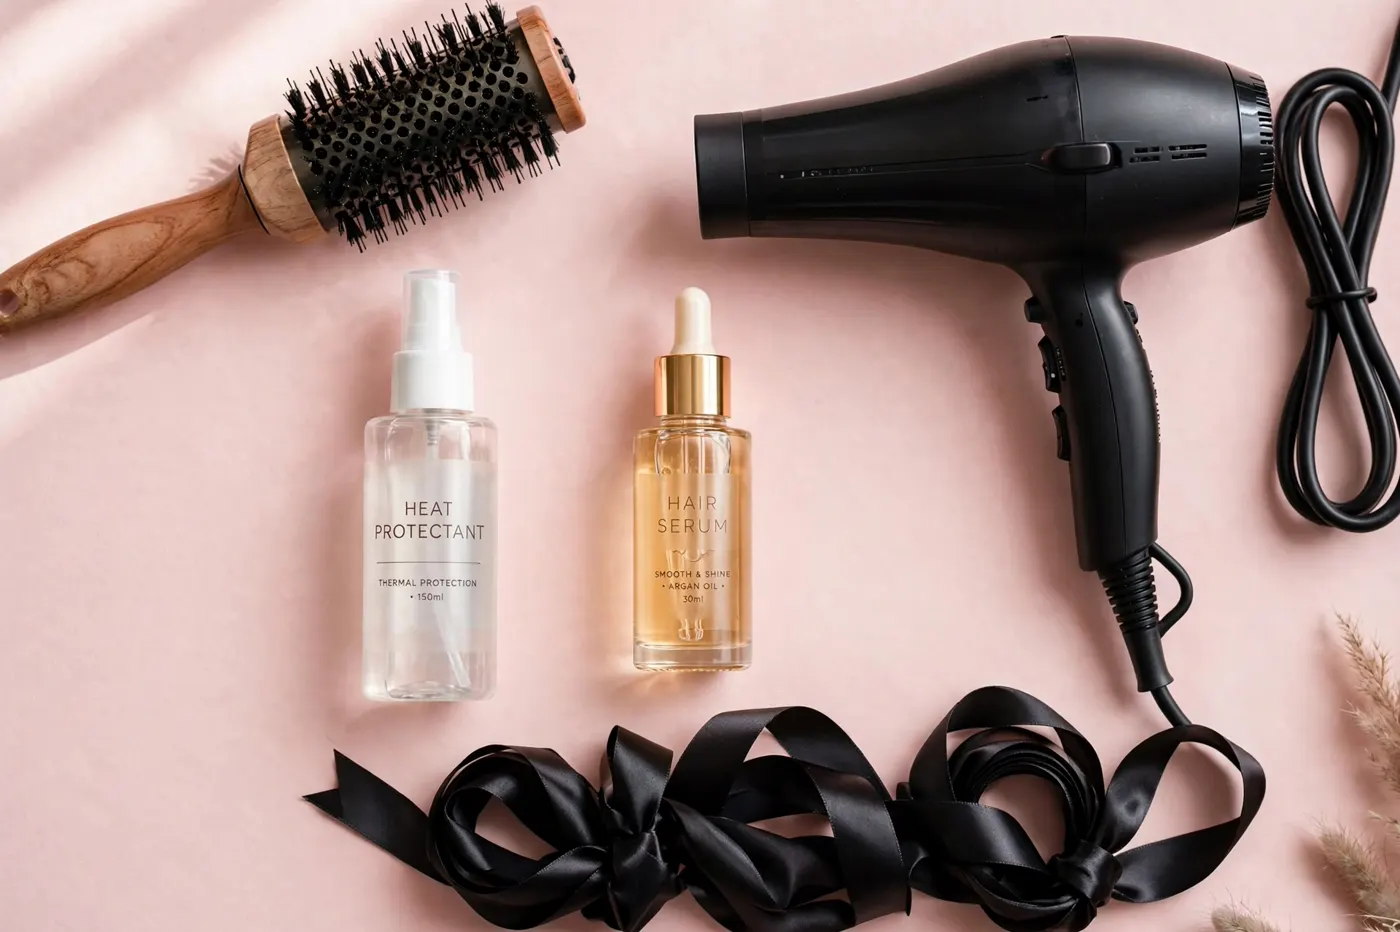
The cut does the shaping; these five do the daily work. You do not need all five on day one — the first two matter most:
- Heat protectant spray — this cut is styled with heat almost every wear; unprotected ends split and the swoop dies first. $5–$9
- A round brush (medium barrel) — the swoop is a brush shape, not a product. The brush is the tool. $4–$8
- Lightweight hair oil or serum — one drop through the ends keeps layers glossy instead of fluffy. $4–$8
- Flexible-hold hairspray — locks the swoop without freezing it; stiff spray makes the front sections look like cardboard. $4–$7
- Dry shampoo — day-two layers need lift at the root, not a full wash. $3–$6
Budget tip: if you’re buying only two things, buy the heat protectant and the round brush. The swoop comes from heat direction plus brush shape; oils and sprays only polish what the brush built.
The cut
Step 1 — Say this to your stylist (the exact wording)
Screenshots help, but stylists cut words, not vibes. Ask for this, in this order:
- “Long layers, but keep the weight at the ends.” The vampire cut is not a thinned-out, wispy layer cut. The drama comes from length and density staying in the bottom third while the top layers move.
- “Face-framing layers starting at the cheekbone.” The shortest front sections should begin around cheekbone to jaw level — this is what creates the swoop that falls across the face. Shorter than cheekbone turns it into ordinary curtain bangs.
- “A deep side sweep, not a middle curtain.” The signature fall is asymmetric — hair that sweeps down and across. If you wear a centre part daily, say so now; the cut is mapped differently.
- “Point-cut the ends, don’t razor them.” Point cutting keeps the ends soft but substantial. Razoring thick hair can leave the layers stringy within a fortnight.
- “Show me the front sections dry before I leave.” Layers shrink as they dry. The swoop must be checked on dry hair, in the chair, or you’ll discover the real length at home.
Budget tip: if your salon charges by the add-on, skip the treatment add-ons and spend that money on the senior stylist instead. This cut is 90% scissor judgement; a gloss treatment can’t fix layers mapped in the wrong place.
Step 2 — The face-shape check (do this before you book)
This cut is generous to most faces, but not identical on all of them:
- Oval faces: the textbook match. Book the standard version, cheekbone start, no changes.
- Round faces: very flattering — the long front sections visually lengthen the face. Ask the shortest layer to start at the jaw, not the cheekbone, so nothing widens the cheeks.
- Square faces: flattering, because the swoop softens a strong jaw. Keep the front sections feathery at the ends rather than blunt.
- Long faces: wear it with more volume at the sides and a slightly higher layer start (mid-cheek), so the eye reads width, not more length.
- Heart-shaped faces: good match — the cascading front balances a narrower chin. Ask for a touch more weight left in the bottom layers.
A note for thick South Asian hair: this cut was practically designed for you. Dense, heavy hair holds the swoop instead of collapsing by midday. Tell your stylist not to over-thin it “to make it manageable” — the weight is the look. If your hair is very coarse, ask for the layers to be cut slightly longer than the photo you bring; coarse hair springs up more as it dries.
Step 3 — The daily styling routine: the Swoop Method
Blow-dry forward, roll back, cool to set. Ten minutes, in this order:
- Prep: on towel-dried hair, mist heat protectant through the lengths, concentrating on the front sections.
- Dry forward: flip the front sections forward over your face and dry them pointing down. This sounds wrong; it’s what gives the fall its forward, face-hugging direction.
- Roll back: wrap each front section around the round brush, roll it away from the face, apply heat for a few seconds, then hold.
- Cool to set: keep the section on the brush (or pin it in the roll) while it cools for 30 seconds. Heat shapes hair; cooling is what keeps the shape.
- Repeat the layers: dry the remaining lengths smooth and straight — the contrast between glassy lengths and the swooped front is the whole effect.
- Finish: one drop of oil through the ends only, then a light mist of flexible spray from arm’s length.
Budget tip: no round brush? A large velcro roller on each front section while you do your makeup gives 70% of the swoop. Roll away from the face, leave them in for at least ten minutes, mist lightly before unrolling.
The mistake to avoid: styling the front sections by sweeping them back with a flat brush while they dry. That trains the hair to fall away from the face in a flat curtain — the exact opposite of the vampire fall. Direction during drying is everything.
Step 4 — Sleeping, day two, and maintenance
- At night: gather hair into a loose, high ponytail or a soft braid. The front sections survive; a tight bun kinks them.
- Day two: dry shampoo at the roots, then re-roll just the front sections with the round brush and 30 seconds of warm air. Never redo the whole head — the lengths improve on day two.
- Humidity rescue: a pea-sized amount of serum smoothed over the front sections, then two minutes under a cool-shot blow-dry pointing down. Frizz on this cut reads instantly, so the front gets rescued first.
- Trim cycle: front sections and layers every 8–10 weeks. Let it run to 14 and the swoop grows past the jaw and stops framing anything.
5 mistakes that ruin this cut (and the fixes)
- Asking for “lots of layers” → wispy, thinned ends that kill the drama. Fix: the Step 1 wording — long layers, weight kept at the ends.
- Layers starting too high → the front turns into short bangs. Fix: shortest section starts at cheekbone or below.
- Letting the stylist over-thin thick hair → stringy ends within weeks. Fix: say the weight is the look; minimal thinning, if any.
- Skipping heat protectant → split front sections, and the swoop is always the first casualty. Fix: protectant before every heat session, no exceptions.
- Drying the front backward → flat curtain instead of a swoop. Fix: the Swoop Method — forward first, roll back, cool to set.
Budget picks for this look
| Product role | What to look for | Price band | Link |
|---|---|---|---|
| Heat protectant | Spray format, protects to 220°C/450°F | $5–$9 | Shop |
| Round brush | Medium barrel (32–43mm), ceramic core | $4–$8 | Shop |
| Hair oil/serum | Lightweight, silicone-based, non-greasy | $4–$8 | Shop |
| Flexible hairspray | Brushable hold, no crunch | $4–$7 | Shop |
| Dry shampoo | No white cast — tinted for dark hair | $3–$6 | Shop |
| Velcro rollers | Large (40mm+), for the brush-free method | $3–$5 | Shop |
Full-kit total with these picks: roughly $23–$43. The cut is the investment; the daily ten minutes is what makes it read “vampire” instead of just “layers.”
FAQs
What exactly is a vampire haircut?
A long layered cut whose shortest layers frame the face from the cheekbone down, styled so the front sections sweep forward and across in a swooping fall. It’s named for the vampire beauty trend — dramatic, romantic and slightly dangerous-looking rather than soft and beachy.
Does the vampire haircut suit thick hair?
It’s one of the best cuts for thick hair. The density holds the swoop shape, and the long layers remove bulk from the mid-lengths while keeping weight at the ends. Ask your stylist to thin it as little as possible.
Can I get this cut on medium-length hair?
Yes, as long as the longest layers pass the shoulders — the swoop needs length to travel. On shorter hair the same wording gives a softer framed bob effect; pretty, but not quite the full vampire fall.
How do I style it without heat every day?
Velcro rollers in the front sections for 10–15 minutes while you get ready, or twist the front sections away from your face while damp and let them air-dry in the twist. Heat gives the sharpest swoop, but the direction training works without it.
Will the layers make my hair look thinner?
Not if the weight stays at the ends — that’s the whole point of the Step 1 wording. Layers that are razored or over-thinned do make ends look sparse, which is why point cutting and minimal thinning are specified.
How often does it need trimming?
Every 8–10 weeks to keep the front sections at cheekbone-to-jaw length. The back lengths can stretch longer between appointments, but the framing sections are the look — let them grow out and the cut quietly becomes ordinary layers.
Keep going
- Complete the look head-to-toe: Goth Coffin Nails — the nail shape this whole aesthetic was built around, in our Goth Coffin Nails designs guide.
- The makeup that matches the hair: Dark Romantic Makeup Tutorial — smoked kohl eyes and berry lips, step by step, in our dark romantic makeup tutorial.
- More cuts, colours and care routines live in Hair.
Some links in our Budget Picks may earn us a commission at no extra cost to you. Picks are ordered by what works, never by who pays.