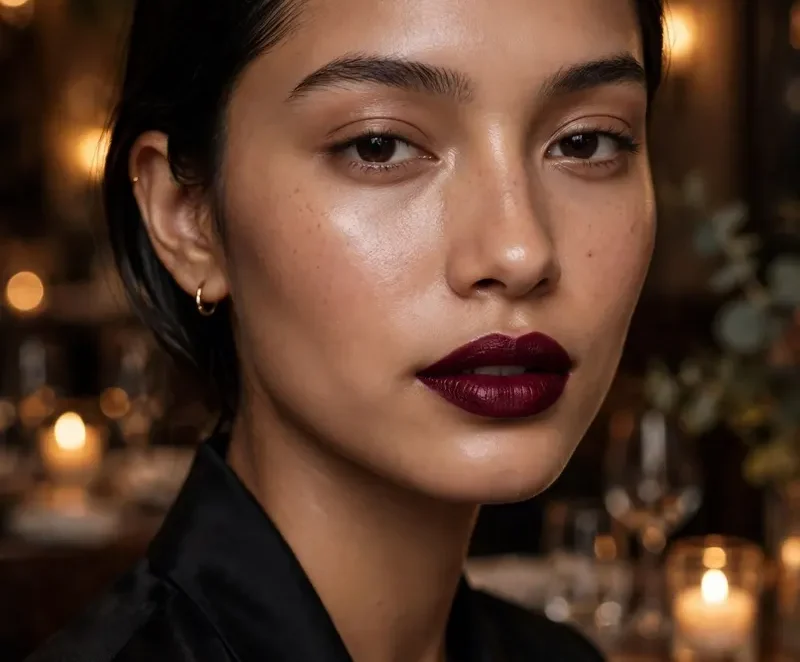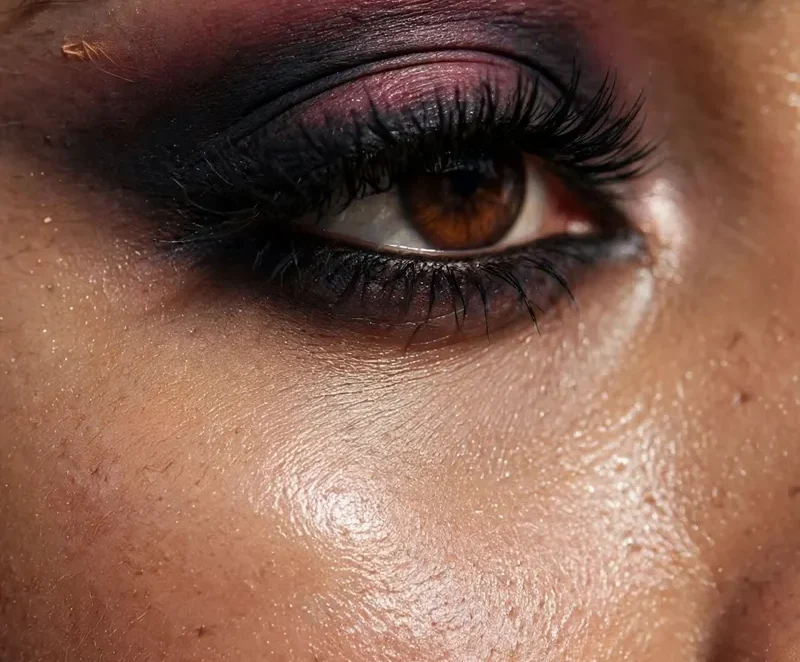
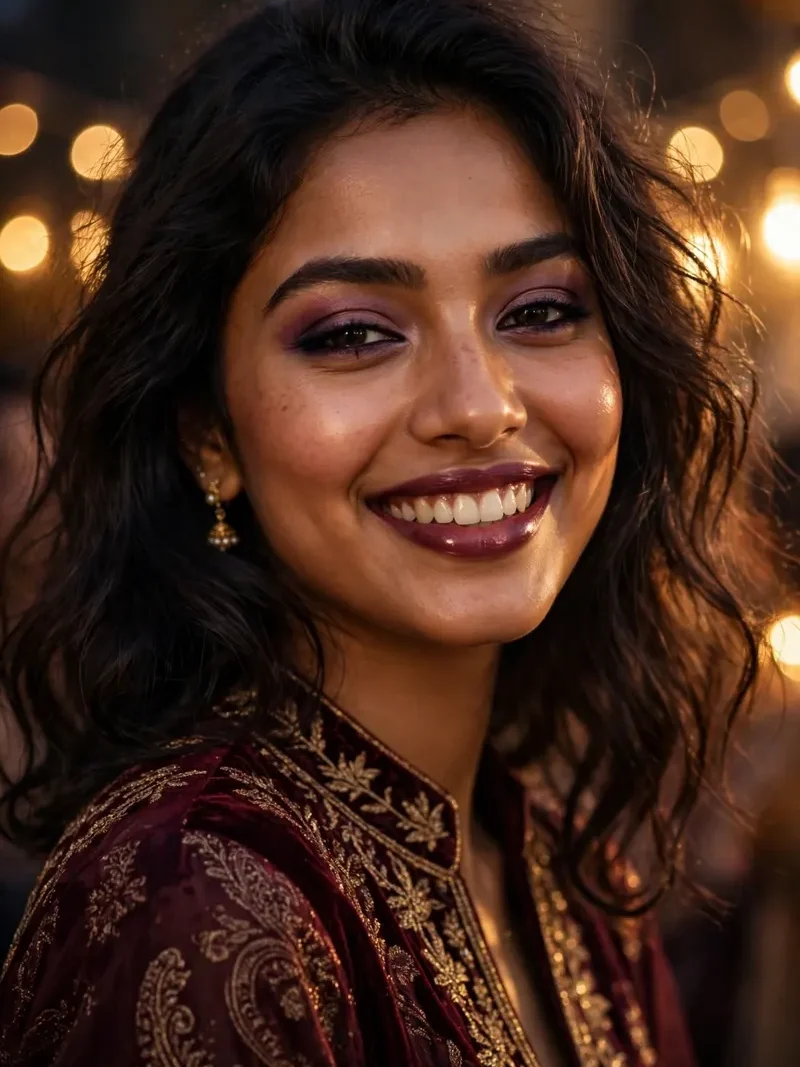
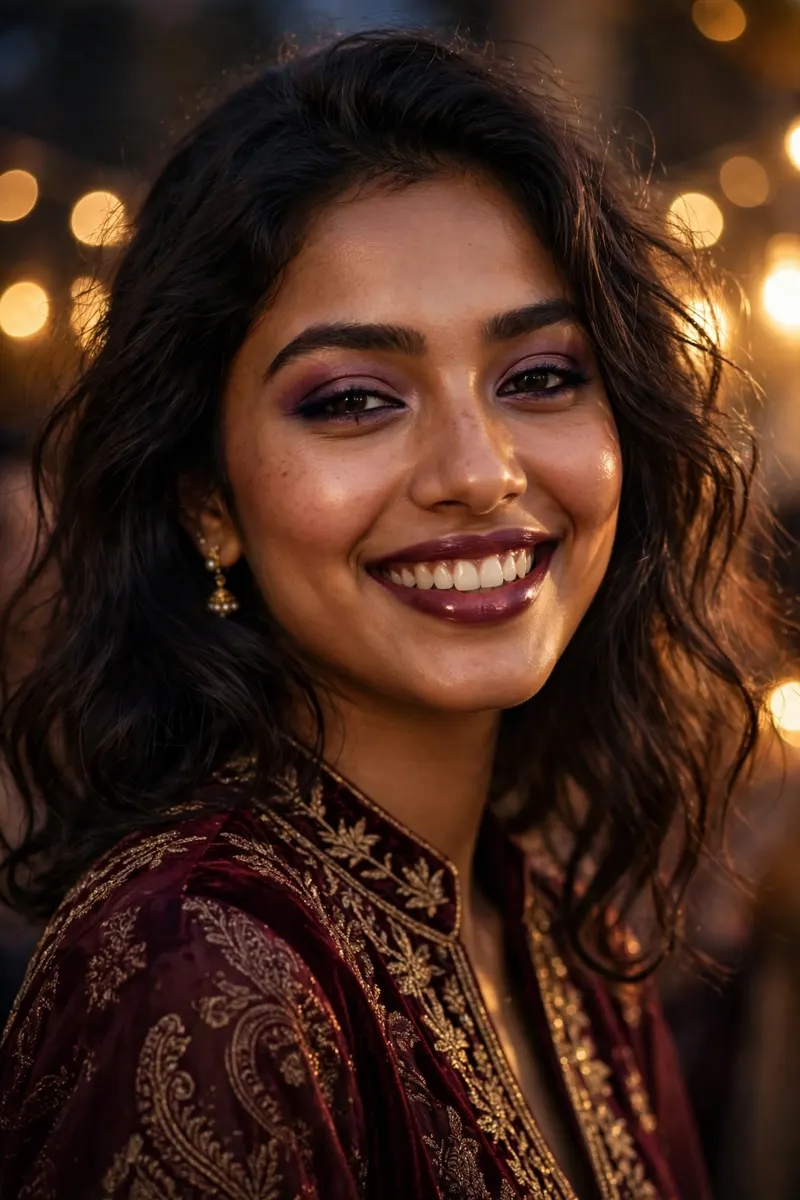
Every vampy makeup tutorial seems to assume you already own twelve brushes and a steady hand. This one doesn’t. It’s the same dark-glam family as our full dark romantic look, rebuilt for true beginners: fewer products, softer edges, and an order designed so that a small mistake in any step gets blended away by the next one. If your current skill level is “mascara, most days,” you can do this look tonight.
Quick glance
- The look: soft kohl smoke, stained berry lips, gentle plum blush, real-skin base
- Time: 20–30 minutes (15 once you’ve done it twice)
- Skill level: true beginner — no sharp lines, no cut creases, nothing that needs a steady hand
- Budget band: full look $19–$35 with the budget picks below; $0 if you already own a black kohl pencil and any dark lipstick
- Lasts: 5–7 hours with the setting order in Step 7
- Best for: first dark-glam attempts, evening dinners, parties, sangeet nights where you want the mood without the full drama
Before you start: the 5 products that matter
One product fewer than the full tutorial — and everything multi-tasks:
- Moisturiser you already own — dark colours cling to dry patches; hydrated skin is the whole base strategy.
- Tinted moisturiser, BB cream or your regular foundation — lighter is better here; heavy base is where beginners look “made up” instead of glam.
- Black kohl pencil (smudgeable, not waterproof-liquid) — the entire eye look. It is meant to be smudged, so it cannot be drawn “wrong.” $3–$8
- One deep brown or plum eyeshadow — a single shade. It softens the kohl and does the blending work for you. $4–$10
- Berry lipstick or lip stain + plum/mauve blush — if the blush shade scares you, the lipstick doubles as blush (Step 5 shows how). $5–$12
Budget tip: if you’re buying only two things, buy the kohl pencil and the berry lipstick. Those two products are the vampy look — everything else is support.
The tutorial
Step 1 — Moisturise, then wait
Cleanse, moisturise generously, and wait a full minute before anything else touches your face. Beginner makeup fails on dry skin, not on technique: foundation grabs flakes, kohl skips, lipstick settles into lines. The minute of waiting is a step, not a suggestion.
Budget tip: no primer, no problem — this look skips primer entirely. Well-absorbed moisturiser plus the powder placement in Step 7 is enough at this intensity.
Step 2 — Base: less than you think
Apply your base only where your skin tone is uneven — centre of the face, around the nose, any marks — and blend outward with fingers or a damp sponge. Leave the edges of your face bare. A vampy look on a light, real-skin base reads modern and romantic; the same eyes and lips on a heavy full-coverage base read theatrical. Concealer only on spots and the darkest part of the under-eye, tapped in with a fingertip.
Step 3 — Brows: brush and leave
Brush your brows into shape with a spoolie or a clean mascara wand. Fill only an obvious gap if you have one. Beginners over-draw brows when they’re concentrating on a new look — and drawn-on brows plus dark lips is the fastest route to “too much.” Your natural brows, brushed, are the right frame here.
Step 4 — The soft smoke (the heart of the look)
This is the Smudge-First Method: kohl down messy, shadow over the top, blend until it behaves.
- Line thickly: draw the kohl along your upper lash line in a line thicker than feels right. Do not aim for neat — wobbly is fine, gaps are fine.
- Smudge immediately: with a cotton bud or your ring fingertip, smudge the line upward within 30 seconds, while the kohl is still soft. Push the colour up onto the lid and soften the edge. There is no wrong direction; messy here becomes smoky in the next move.
- Shadow over the top: press your brown or plum shadow over the whole smudged area with a fingertip or any brush. This sets the kohl (so it stops travelling) and blends the edges for you.
- Soften the edges: with a clean fingertip or cotton bud, sweep the outer edge of the shadow until it fades into skin. Blend longer than feels necessary.
- Lower lashes, lightly: run the kohl along the outer half of the lower lash line only, then smudge it the same way. Skip the waterline entirely in this beginner version — it’s the step that makes eyes water and looks go harsh.
Budget tip: your fingertip is the best blending tool for this look — the warmth softens kohl better than a brush. Keep one finger “clean” for edge-softening and use another for packing colour on.
The mistake to avoid: trying to fix a wobbly line by drawing it thicker and sharper. In a smoky look, you never fix with more line — you fix with more blending. If one eye ends up darker, smudge the lighter eye up to match, not the other way around.
Step 5 — Blush: borrow it from your lips
Smile, dot your berry lipstick once on the apple of each cheek, and blend quickly with warm fingers, sweeping up toward the temples. This guarantees your blush and lips live in the same colour family — the harmony professionals plan and beginners get free with this trick. If you own a plum or mauve blush, use that instead, same placement. Go lighter than you think; you can add a second dot, and dark lips already add a lot of colour to the face.
Budget tip: this step is why the product list has five items, not six. One berry lipstick doing two jobs is the single best money-saver in dark-glam makeup.
Step 6 — Berry lips, the forgiving way: the Stain-First Rule
Stain the whole lip first, lipstick second, perfection never.
- Apply your berry lipstick or stain over the whole lip straight from the bullet or wand — no liner in this version. Blot with tissue.
- Apply a second layer only in the centre of the lips. This builds depth where it flatters and keeps the edges soft instead of sharp.
- Clean up one edge only if something has clearly gone outside the lip line — a cotton bud with a little moisturiser erases it. Soft edges are part of this look, not a flaw in it.
Shade notes for South Asian skin tones: berries with a blue or wine base (burgundy, black-cherry, raspberry) brighten golden, olive and deeper skin and make teeth look whiter. Brownish, dusty berries can turn muddy on warm undertones — if the bullet looks greyish-brown, skip it. On deeper skin, go one shade darker than the colour that first catches your eye; berry shades apply lighter than they look in the tube.
Budget tip: a lip stain is the most beginner-forgiving format of all — it can’t bleed outside the lines, it fades evenly instead of patchy, and it survives dinner. If you’re buying one lip product for this look, make it a stain.
Step 7 — Set only where shine breaks through
Powder just the T-zone — forehead centre, nose, chin — with a light hand. Leave cheeks and the eye area unpowdered; the slight sheen is what keeps the look alive. If you own a setting spray, one mist over everything. Then leave your face alone: touching up a smoky look with more product is how it turns heavy by hour four.
5 mistakes that ruin this look (and the 10-second fixes)
- Drawing the kohl line carefully → 10 tense minutes and a harsher result. Fix: draw it messy on purpose, then smudge — that’s the technique, not a shortcut.
- Full-coverage base → the look turns costume. Fix: base only where you need evening-out, edges left bare.
- Lining the waterline → watery eyes, smaller-looking eyes, harsh ring. Fix: this version skips it — lower lash line, outer half, smudged.
- Buying a whole new kit → money spent on products the look never uses. Fix: kohl + berry lip first; everything else adapts from your bag.
- Chasing perfect lip edges → overlining, bleeding, stress. Fix: stain-first lips are supposed to have soft edges; clean up only real escapes with a cotton bud.
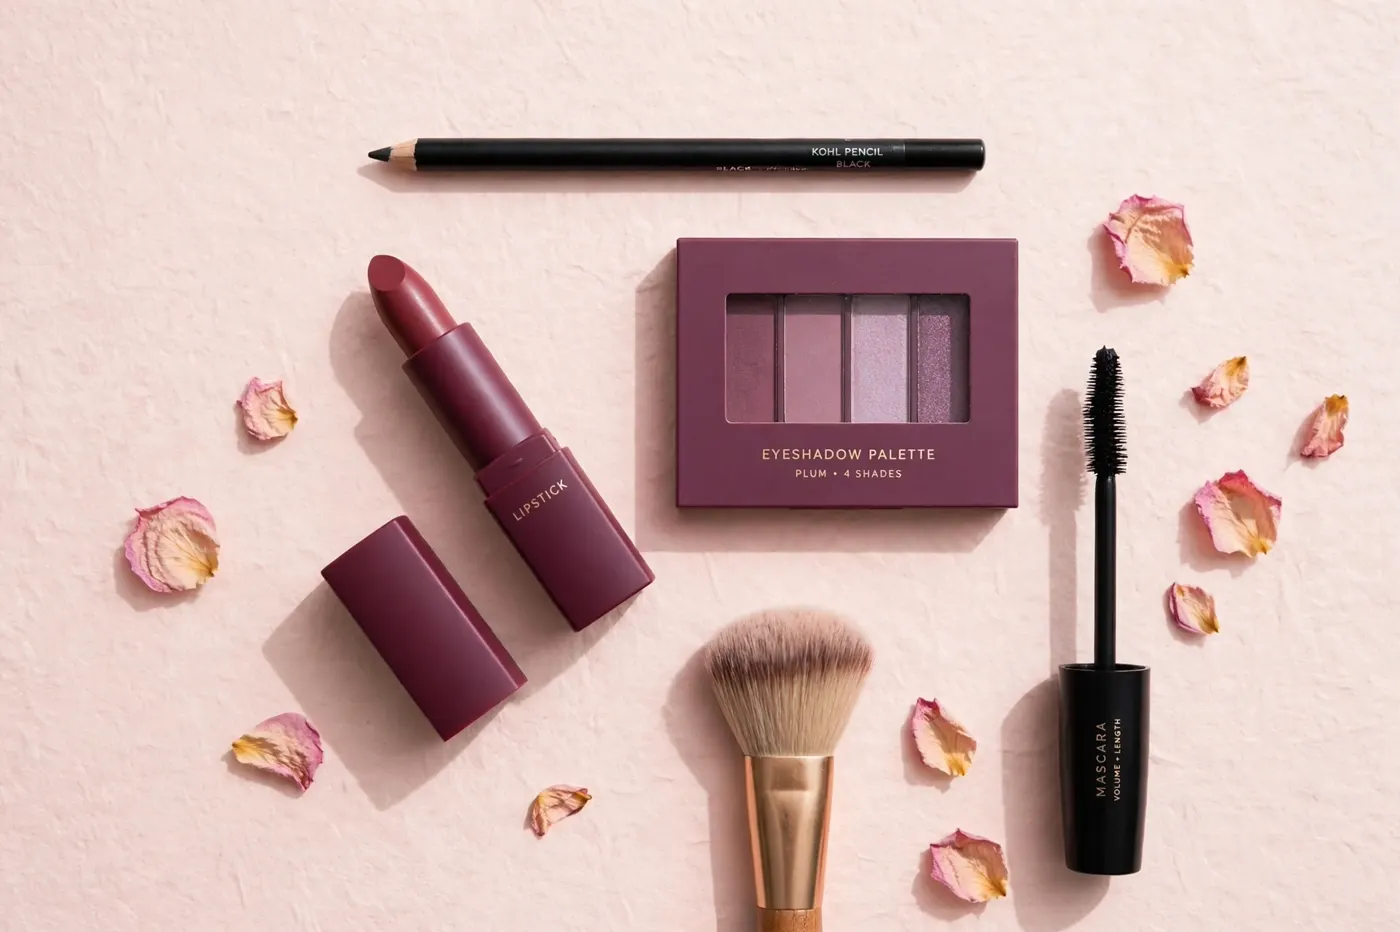
Budget picks for this look
| Product role | What to look for | Price band | Link |
|---|---|---|---|
| Kohl pencil | Smudgeable black kohl, not liquid liner | $3–$8 | Shop |
| Single shadow | Matte deep brown or plum, any format | $4–$10 | Shop |
| Berry lip stain | Wine, burgundy or black-cherry stain | $5–$12 | Shop |
| Tinted base | BB cream or tinted moisturiser, your shade | $6–$13 | Shop |
| Setting spray | Natural or dewy finish | $6–$11 | Shop |
Full-look total with these picks: roughly $19–$35 if you’re starting from an empty bag, and close to $0 if the kohl and a dark lipstick are already yours. This look is an order of steps, not a shopping list.
FAQs
I’m a complete beginner. Is vampy makeup really doable?
Yes — it’s the most beginner-friendly dramatic look there is, because it’s built on smudging. There is no precise line to get right anywhere in this tutorial. If you can colour in with a kohl pencil and blend with a fingertip, you have every skill it needs.
What’s the difference between this and the dark romantic tutorial?
Same colour family, softer execution. This version uses five products instead of six, skips the waterline and the lip liner, swaps full berry lipstick for a stain-first application, and keeps the base lighter. Dark romantic is the full event version; this is the weeknight version.
What if my kohl smudges too much and travels?
That’s almost always a setting problem, not a drawing problem: press eyeshadow over the smudged kohl (Step 4, move 3) and it stops moving. A little translucent powder under the lower lash line catches any late travellers.
Which berry shade should a beginner buy first?
A blue-based wine or burgundy stain. It flatters the widest range of skin tones, brightens golden and deeper South Asian skin, and the stain format forgives uneven application and fades gracefully instead of patchily.
Can I wear this look in the daytime?
Softened, yes: one smudged kohl line with no lower-lash colour, one coat of mascara, and the berry worn as a single blotted stain layer. It reads as a polished daytime smoky eye with a tinted lip.
My eyes are small / hooded. Will the smoke make them look smaller?
Not in this version — the two things that shrink eyes are the waterline ring and heavy lower-lash colour, and both are skipped or kept to the outer half here. Keep the darkest colour at the lash line and blend upward; on hooded eyes, blend the shadow slightly above your natural crease so the colour shows when your eyes are open.
Keep going
- Ready for the full version? Dark Romantic Makeup Tutorial is this look’s bigger sister — the complete Kohl & Smoke method, here.
- The eyes, five ways: Dark Kohl Eye Makeup Looks — one kohl pencil, five finishes, here.
- Lips as the main event: Berry Lips Evening Makeup builds a whole face around the berry lip, here.
- The full collection lives in Dark Looks.
Some links in our Budget Picks may earn us a commission at no extra cost to you. Picks are ordered by what works, never by who pays.