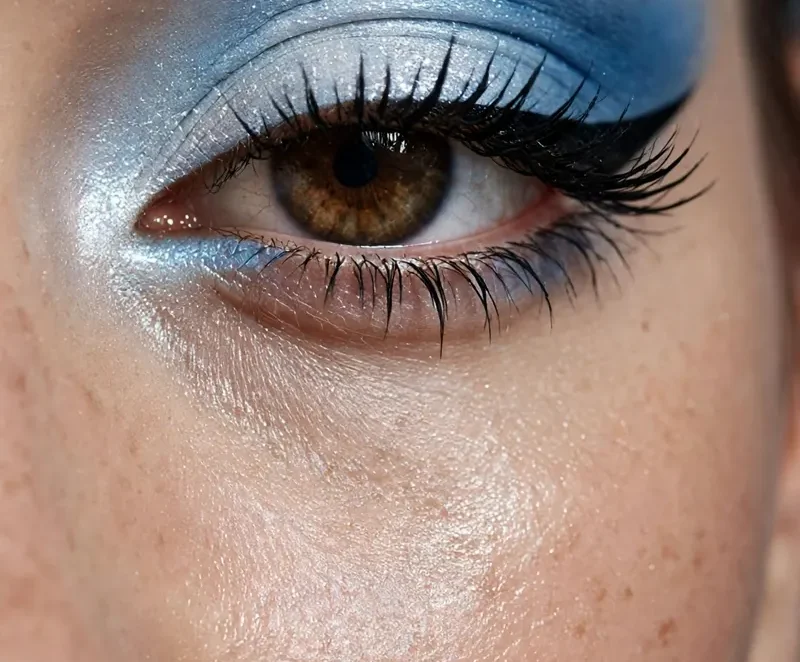
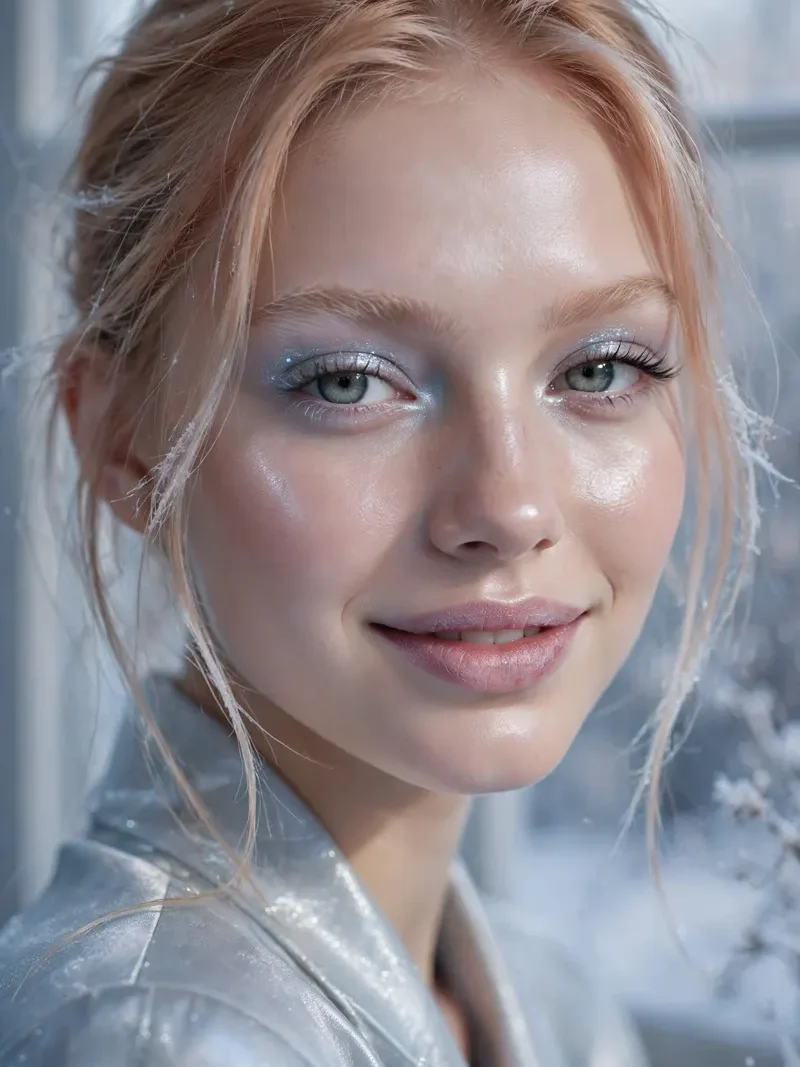
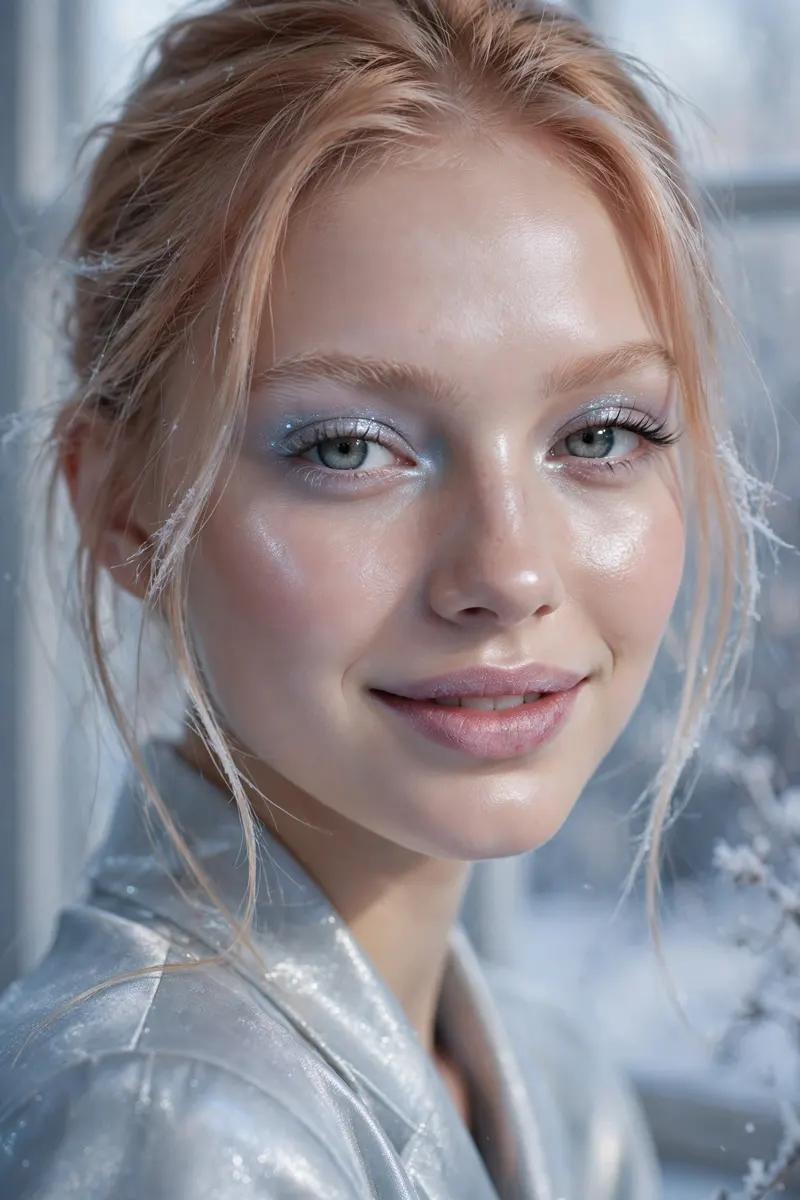
Frost is back — searches for frosted makeup are up 150% in Pinterest Predicts 2026 — but the look returning is not the one in old photos. The 90s version was chalky, white-blue and painted over everything; the 2026 version is sheer, precisely placed, and sitting on skin that still looks like skin. The difference is three things: a cool but real base, shimmer pressed on in thin layers instead of packed, and frost on one feature at a time. Get those right and anyone can wear it. Here’s the full tutorial, in order.
Quick glance
- The look: sheer icy shimmer on the eyes, cool luminous skin, pink-lilac blush, a glossy cool lip
- Time: 25–35 minutes
- Skill level: beginner-to-intermediate — the skill is layering patience, not blending tricks
- Budget band: full look $24–$48 with the budget picks below; $0 if you already own a pale shimmer shadow and a pink blush
- Lasts: 6–7 hours with the setting order in Step 8
- Best for: winter events, evening parties, flash photos — and daytime, if you keep the frost sheer
Before you start: the 6 products that matter
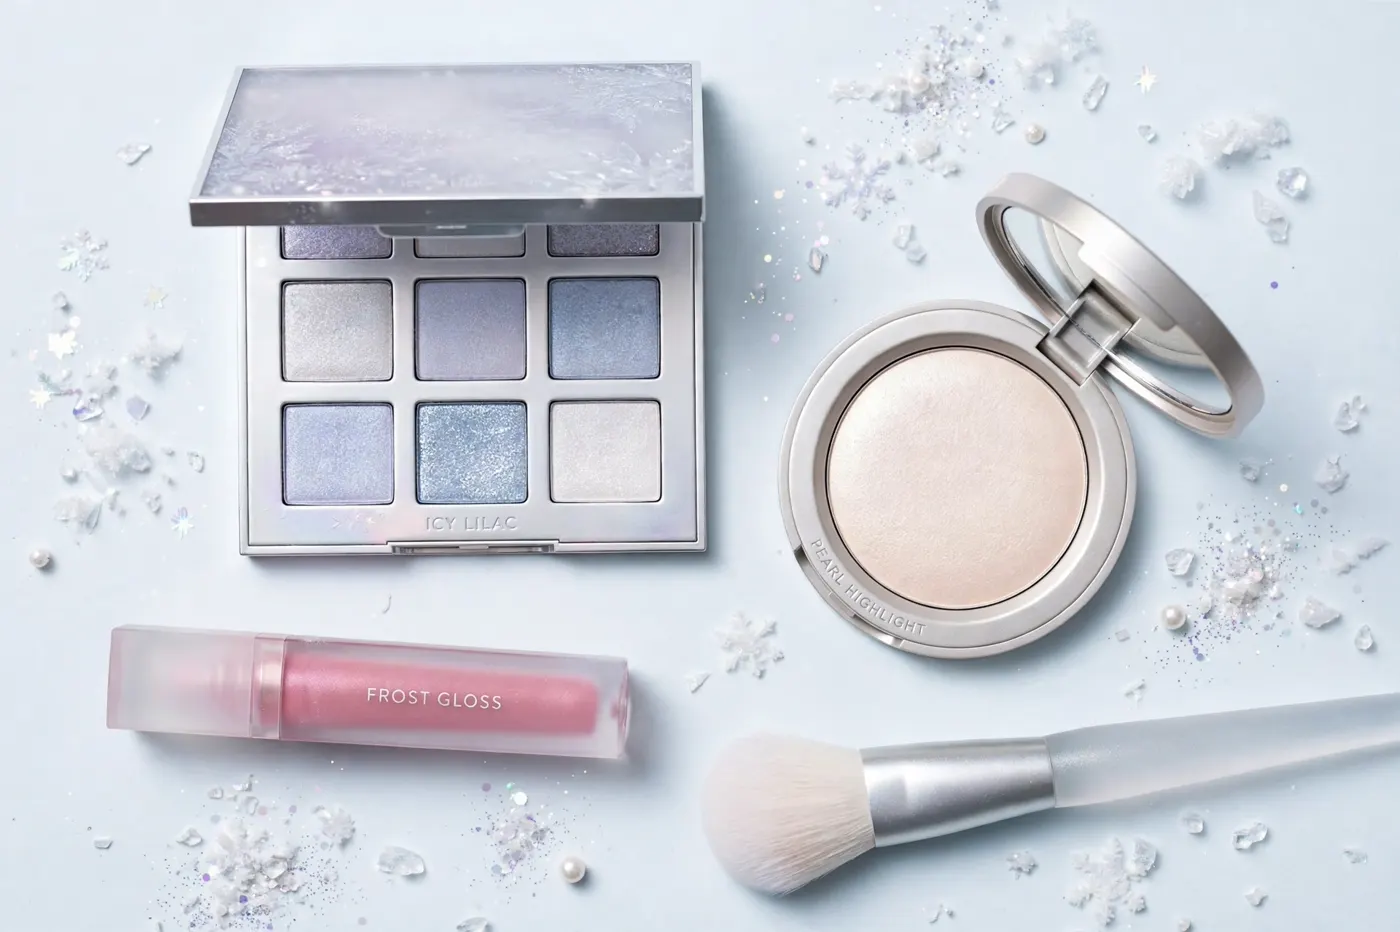
You do not need a special “ice kit.” You need these six, in any brand:
- Neutral or cool-toned foundation + concealer — a warm, yellow-leaning base will fight every cool shade that follows. Your usual, if it runs neutral
- Frost eyeshadow — one pale icy shimmer: silver-white, pink pearl or lilac pearl. $5–$12
- Matte cool taupe eyeshadow — a grey-brown transition shade. This unglamorous pan is what makes frost look modern. $4–$10
- Cool pink or lilac blush — satin finish. Warm peach blush belongs to a different look. $5–$10
- Pearl highlighter — white or pink pearl, never gold. $5–$11
- Cool pink lip gloss + mascara + setting spray — gloss over lipstick; frost needs a luminous set, not a matte one. $5–$11
Budget tip: if you’re buying only one thing, buy the frost shadow. Pressed thin, it works as lid colour, inner-corner light and cheekbone highlight — three of the steps below come out of one pan.
The tutorial
This is the Sheer Frost Method: real skin first, frost in thin layers, one feature only.
Step 1 — Prep for shimmer (it shows everything)
Moisturise well and let it sink in fully. Shimmer is a texture spotlight: it will find every dry flake and every unblended edge and announce them. Smooth, hydrated skin is not a nicety in this look — it’s the foundation the frost stands on.
Budget tip: no primer? The same trick as always: moisturiser fully absorbed, plus a whisper of translucent powder only where you’re oily. Frost sits worst on grease, second worst on flakes.
Step 2 — The cool base rules
Frost fails or succeeds here, before any shimmer is opened. Three rules:
- Don’t warm the base up. Match your foundation to your actual undertone and stop there. Bronzer, warm contour and golden drops are all switched off for this look — warmth underneath cool frost reads muddy, not glowy.
- Keep the finish luminous, not matte. Conceal where needed, powder the T-zone only, and leave the cheeks and high points bare for the pearl in Step 6.
- Shape with cool tones only. If you contour, use a grey-brown shade, softly. Cool shadow, not warm sun.
Step 3 — Brows: soft and ash-toned
Brush through, fill gaps lightly, keep them feathery. One detail most people miss: warm, reddish brow products clash with an icy face. If your brow pencil leans red-brown, today is the day for the ash-brown one — or skip filling and just gel them into place.
Step 4 — Frosted eyes: matte first, frost second
This order is the entire difference between 2026 frost and 90s frost:
- Crease: blend the matte cool taupe through the crease and slightly above it. This gives the eye real depth in a shade with zero shimmer.
- Frost: press — don’t sweep — the icy shimmer over the lid in one thin layer. Let it settle, then press a second thin layer only on the centre of the lid.
- Inner corner: the brightest point. A small, dense dab of frost at the inner corner and a touch on the inner third of the lower lash line.
- Define: thin black or grey liner tight along the upper lashes. Frost without definition makes eyes disappear in photos; the liner is the frame.
Shade notes for South Asian skin tones: white-based silver frosts can sit grey and ashy on golden and deeper skin, because the white pigment rests on the skin instead of melting in. Choose pearl versions — pink pearl, lilac pearl, champagne-pink — and press them over your taupe base rather than bare skin. Your frost should lighten the lid, not whiten it. Test on the back of your hand against your jaw: if it looks chalky there, it will on the eye.
Step 5 — Lashes
Curl, two coats of mascara, top lashes doing most of the work, one light coat below. Cool looks read “awake” — heavy, clumped lashes pull the whole thing toward costume.
Step 6 — Skin frost: the high points only
Pearl highlighter, pressed on with a fingertip, in exactly four places: tops of the cheekbones, brow bone, cupid’s bow, and a breath down the centre of the nose — thin. This is candlelight logic in a colder colour: light where light would land. All-over frost is the 90s mistake; placed frost is the 2026 one.
Budget tip: this is the same frost eyeshadow from Step 4, used with a lighter hand. Two products, one pan — that’s the budget working as it should.
Step 7 — Blush and lips: stay in the cool family
Cool pink or lilac blush on the apples, blended up toward the temples — this blush placement keeps frost youthful instead of ghostly. For lips, pick one of two lanes:
- Full frost fantasy: nude-cool lipstick with the pink gloss over it, or a pink-pearl frosted gloss alone.
- Grounded version: a muted, cool berry stain — if the eyes feel like a lot today, the lip steps back.
Never both at full strength: frosted eyes and a frosted lip at maximum is precisely the photograph from 1997 you’re trying not to recreate. On deeper skin, skip white-based frosted lipsticks entirely — a pink-pearl gloss over your own plum liner gives the same icy shine without the grey cast.
Step 8 — Set it luminous
Skip the matte setting spray. Mist a dewy or natural-finish spray over everything, let it dry, and powder nothing afterwards except a midday T-zone rescue. Matte spray over frost dulls the shimmer you just built; luminous spray keeps the “lit from inside a snow globe” effect for the full 6–7 hours.
5 mistakes that ruin this look (and the 10-second fixes)
- Frost on every feature at once → instant 90s costume. Fix: one feature at full frost (here, the eyes); skin and lips get whispers.
- Skipping the matte taupe crease → pale lids float and eyes vanish. Fix: matte first, always — frost is a topping, not a structure.
- Warm bronzer or gold highlighter underneath → the two colour temperatures fight and both look dirty. Fix: cool contour, pearl highlight, no gold anywhere.
- One thick, packed layer of shimmer → chalky, and it spotlights eyelid texture. Fix: two thin pressed layers; pressing beats sweeping.
- White-based frost straight on deeper skin → grey, ashy cast. Fix: pink or lilac pearl shades over the taupe base (Step 4).
Budget picks for this look
| Product role | What to look for | Price band | Link |
|---|---|---|---|
| Frost eyeshadow | Pink pearl or lilac pearl shimmer, finely milled | $5–$12 | Shop |
| Matte cool taupe | Grey-brown single pan, zero shimmer | $4–$10 | Shop |
| Cool pink blush | Pink or lilac-pink, satin finish | $5–$10 | Shop |
| Pearl highlighter | White or pink pearl, no gold | $5–$11 | Shop |
| Cool pink lip gloss | Sheer pink or pink-pearl gloss | $5–$10 | Shop |
| Dewy setting spray | Natural/luminous finish, not matte | $6–$11 | Shop |
Full-look total with these picks: roughly $24–$53 depending on what you already own — and if you own one pale shimmer shadow, your real spend today is the taupe and the blush.
FAQs
Is 2026 frosted makeup the same as 90s frost?
Same family, different technique. The 90s version was opaque, white-based and worn on every feature at once. The modern version is sheer, pressed in thin layers over a matte-structured eye, with the rest of the face kept real. Placement is the whole update.
What skin tones suit frosted makeup?
All of them, with shade translation. Silver-white frost flatters cool, fair skin straight from the pan. On golden and deeper skin, switch to pink pearl, lilac pearl or champagne-pink versions and press them over a base shade — the glow is identical, the grey cast is gone.
Can I wear frosted makeup in the daytime?
Yes, at half volume: one thin layer of frost on the lid, skip the inner-corner spotlight, keep the lip to plain gloss. Daylight forgives sheer shimmer easily; it’s thick shimmer it argues with.
How do I stop shimmer emphasising texture on my eyelids?
Prep (Step 1), thin pressed layers instead of sweeping (Step 4), and keep the brightest frost on the smooth centre of the lid rather than the crease. A smoothing eyeshadow primer underneath makes the biggest single difference.
What lipstick goes with frosted eyes?
Cool ones. Sheer pink gloss, pink-pearl gloss, or a muted cool berry if you want contrast. Warm orange-reds and corals are the clash to avoid — they belong to the golden looks, not this one.
Does frosted makeup photograph well?
Beautifully, if it’s thin — flash loves a placed shimmer and returns that icy glow. Thick layers are what flash punishes, because it photographs every ridge of packed product. Two thin layers, as in Step 4, is the camera-safe amount.
Keep going
- Ready for the colour version? Icy Blue Eyeshadow Looks takes this same frost and turns it blue, seven ways.
- Prefer the dark side instead? Dark Romantic Makeup Tutorial is the candlelit opposite of this look.
- The full collection lives in Icy & Frost Looks.
Some links in our Budget Picks may earn us a commission at no extra cost to you. Picks are ordered by what works, never by who pays.