
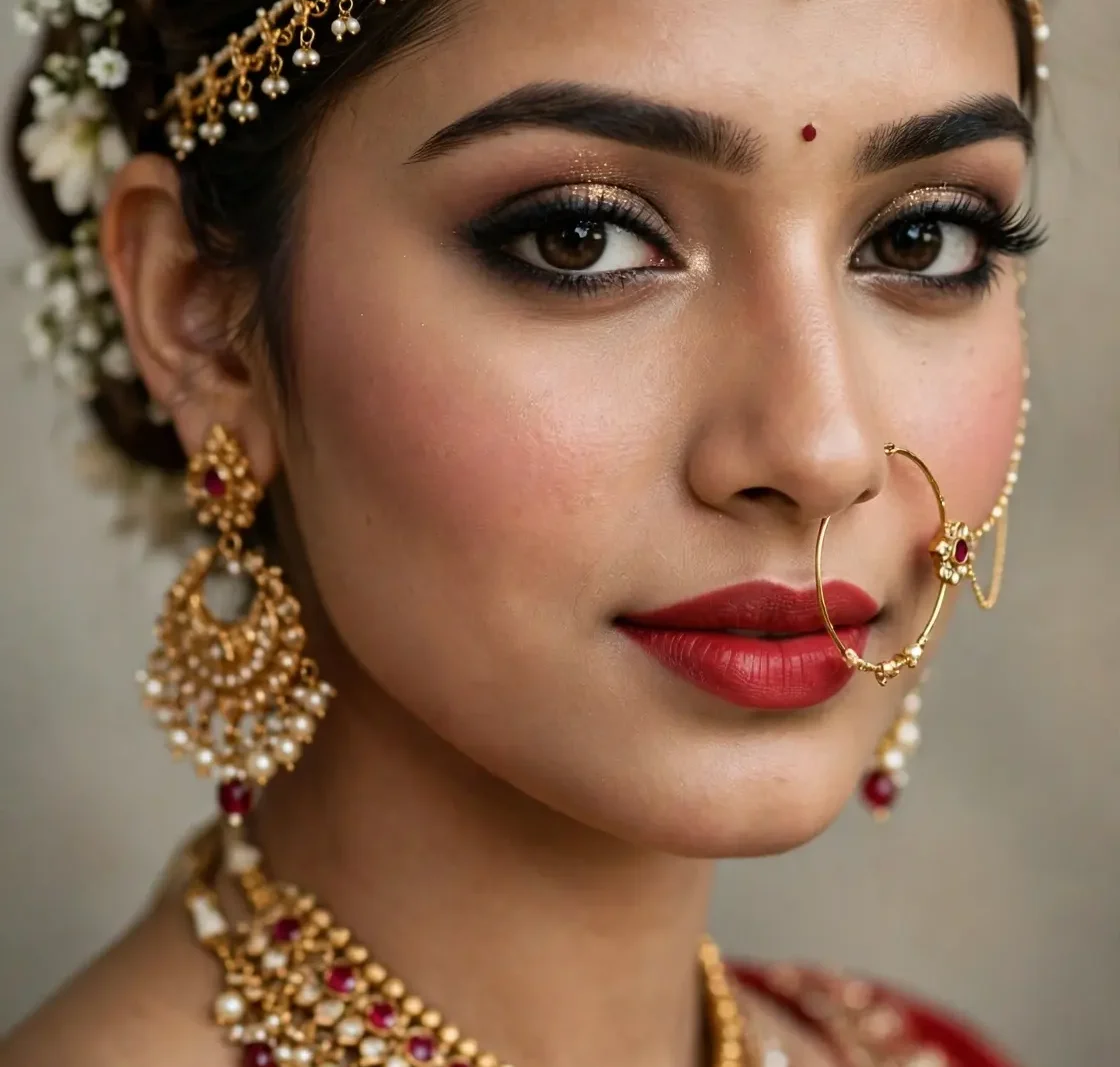
Quick glance
This guide walks you through a complete bridal look — from skin prep to setting — so your makeup stays flawless from the first dance to the last photo.
- Time needed: 60–90 minutes
- Skill level: Beginner-friendly (with a little practice)
- Finish: Long-wear, photo-ready glam
- Best for: Barat, walima, and mehndi brides — all South Asian skin tones
- Staying power: 12+ hours with proper setting
Before you start
This guide walks you through a complete bridal look — from skin prep to setting — so your makeup stays flawless from the first dance to the last photo.
Bridal makeup is not the day to try something brand new. Use products your skin already knows, and do one full trial at least a week before the wedding — in daylight and in photos — so there are no surprises on the day.
You will need: a hydrating primer, a long-wear foundation that matches your neck (not just your face), concealer, setting powder, setting spray, an eyeshadow palette with warm neutrals and one deep shade, false lashes, blush, bronzer, highlighter, a long-wear lipstick, and blotting paper for touch-ups.
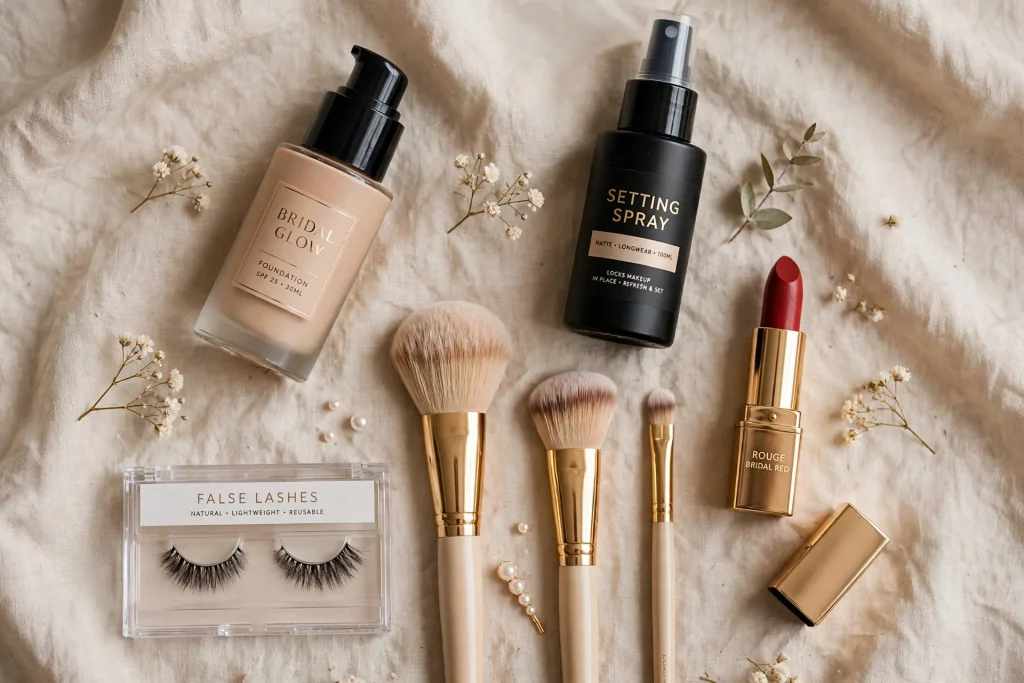
The bridal makeup tutorial, step by step
Step 1: Skin prep and primer
Start with clean, moisturised skin. Apply a light moisturiser, let it sink in for five minutes, then press primer only where you need it — usually the T-zone and cheeks. Skipping this step is why bridal base slides off in humidity and under event lights.
Step 2: Base — foundation and concealer
Apply foundation in thin layers with a damp sponge, building coverage only where you need it. Match the shade to your neck and chest, not your hand — a too-light foundation is the most common bridal mistake in photos. Dot concealer under the eyes and on any spots, then blend the edges so nothing looks caked.
Step 3: Brows and eye base
Fill brows with light, hair-like strokes and set them with brow gel — brows frame the whole bridal face in photos. Then apply an eye primer or a thin layer of concealer on the lids so eyeshadow does not crease over a long event.
Step 4: Bridal eye makeup
Blend a warm transition shade through the crease, deepen the outer corner with a brown or plum shade, and press a shimmer onto the centre of the lid. Keep the deepest colour on the outer third only — this keeps eyes defined without looking heavy. For a traditional barat look, add a touch of gold in the inner corner.
Step 5: Liner and lashes
Line the upper lash line with a waterproof liner, keeping it slightly thicker toward the outer corner for a lifted effect. Curl lashes, apply one coat of waterproof mascara, then place false lashes as close to the natural lash line as possible. Let the lash glue go tacky for 30 seconds before applying — this is what stops lashes lifting mid-event.
Step 6: Blush, contour and highlight
Apply blush to the apples of the cheeks and blend upward toward the temples. Contour softly under the cheekbones and along the jawline — bridal contour should shape, not stripe. Add highlighter to the tops of the cheekbones, the bridge of the nose, and the cupid’s bow for a glow that reads beautifully in photos.
Step 7: Lips
Line lips with a pencil that matches your lipstick, fill them in fully with the pencil first (this makes colour last much longer), then apply lipstick. For a red bridal lip, blot once with tissue and apply a second thin layer — this locks the colour in for hours of talking, eating, and photographs.
Step 8: Setting — making it last 12+ hours
Dust a light layer of translucent setting powder over the T-zone only — over-powdering the whole face is what makes bridal makeup look dry in photos. Mist setting spray in an X and T motion over the whole face, let it dry, and keep blotting paper (not more powder) in your clutch for touch-ups through the night.
5 mistakes brides make
1. Skipping primer. Without primer, foundation breaks down fast in heat, humidity, and hours of dancing.
2. Choosing a foundation one shade too light. It looks fine in the mirror but photographs grey or ashy — always match your neck.
3. Trying new products on the wedding day. A new foundation or skincare product can react with your skin. Trial everything at least a week before.
4. Over-powdering the whole face. Powder belongs on the T-zone only. Too much powder makes skin look flat and aged in photos.
5. Skipping the trial in photos. Makeup that looks good in a mirror can look different on camera. Photograph your trial in daylight and in flash before the big day.
Budget picks
| Product role | What to look for | Price band |
|---|---|---|
| Primer | Hydrating, grips foundation | Budget to mid-range |
| Foundation | Long-wear, matches neck shade | Mid-range |
| Concealer | Creamy, does not crease | Budget to mid-range |
| Setting spray | Locks makeup for 12+ hours | Budget to mid-range |
| False lashes | Natural volume, comfortable band | Budget |
| Lipstick | Long-wear red or nude | Budget to mid-range |
FAQs
How long does bridal makeup last?
With primer, thin layers, and setting spray, a bridal look comfortably lasts 12+ hours — from getting ready in the morning to the last dance at night.
Should a bride do her own makeup?
Yes, if you practise. One full trial a week before the wedding is enough to know whether you are comfortable — if the trial feels stressful, book a makeup artist instead.
Which foundation suits South Asian skin tones?
One that matches your neck and has a warm or golden undertone. Avoid shades that look pink or grey on your skin, and always test in daylight, not shop lighting.
How do I stop bridal makeup from sweating off?
Primer, thin layers, powder only on the T-zone, and setting spray — plus blotting paper for touch-ups instead of adding more powder through the night.
What is the difference between a mehndi and a barat bridal look?
A mehndi look is usually softer and more colourful, while a barat look is deeper and more dramatic — darker eyes, a bolder lip, and heavier lashes. This tutorial works as the base for both; adjust the eye and lip intensity for each event.
When should I start skin prep before the wedding?
Start gentle, consistent skincare at least four weeks before — cleansing, moisturising, and sun protection. Do not start any strong new treatment in the last two weeks.
Keep going
Sangeet Makeup Looks
Dark Romantic Makeup Tutorial
Icy Blue Eyeshadow Looks
Bridal.